Progressive web applications are becoming more and more powerful. As an experiment to see what they are all about and what is possible I decided to convert this blog into a PWA.
What is a PWA?
Progressive web applications, or abbreviated PWAs, are websites which have additional functionality compared to normal web pages. The most obvious change in functionality is the ability to install PWAs on your phone. They are usually accessible offline when installed, which is the biggest difference from normal websites.
From website to progressive web app
To go from a ‘normal’ website to a PWA some actions have to be taken. For the initial conversion of this blog I used the excellent pwabuilder.com. After entering the url to my blog they quickly identified against their checklist which items were already ok and which changes have yet to happen. When the wizard is complete, you’re able to download a zip file with all the missing files.
Aside from registering your site as a PWA, pwabuilder also has several helpful snippets for some basic functionality. I opted to add one of the offline functionality snippets. After choosing a feature you get the template of the code changes you need to make. The only thing you need to do yourself is fill in some gaps, align the style with your code and ensure everything loads correctly.
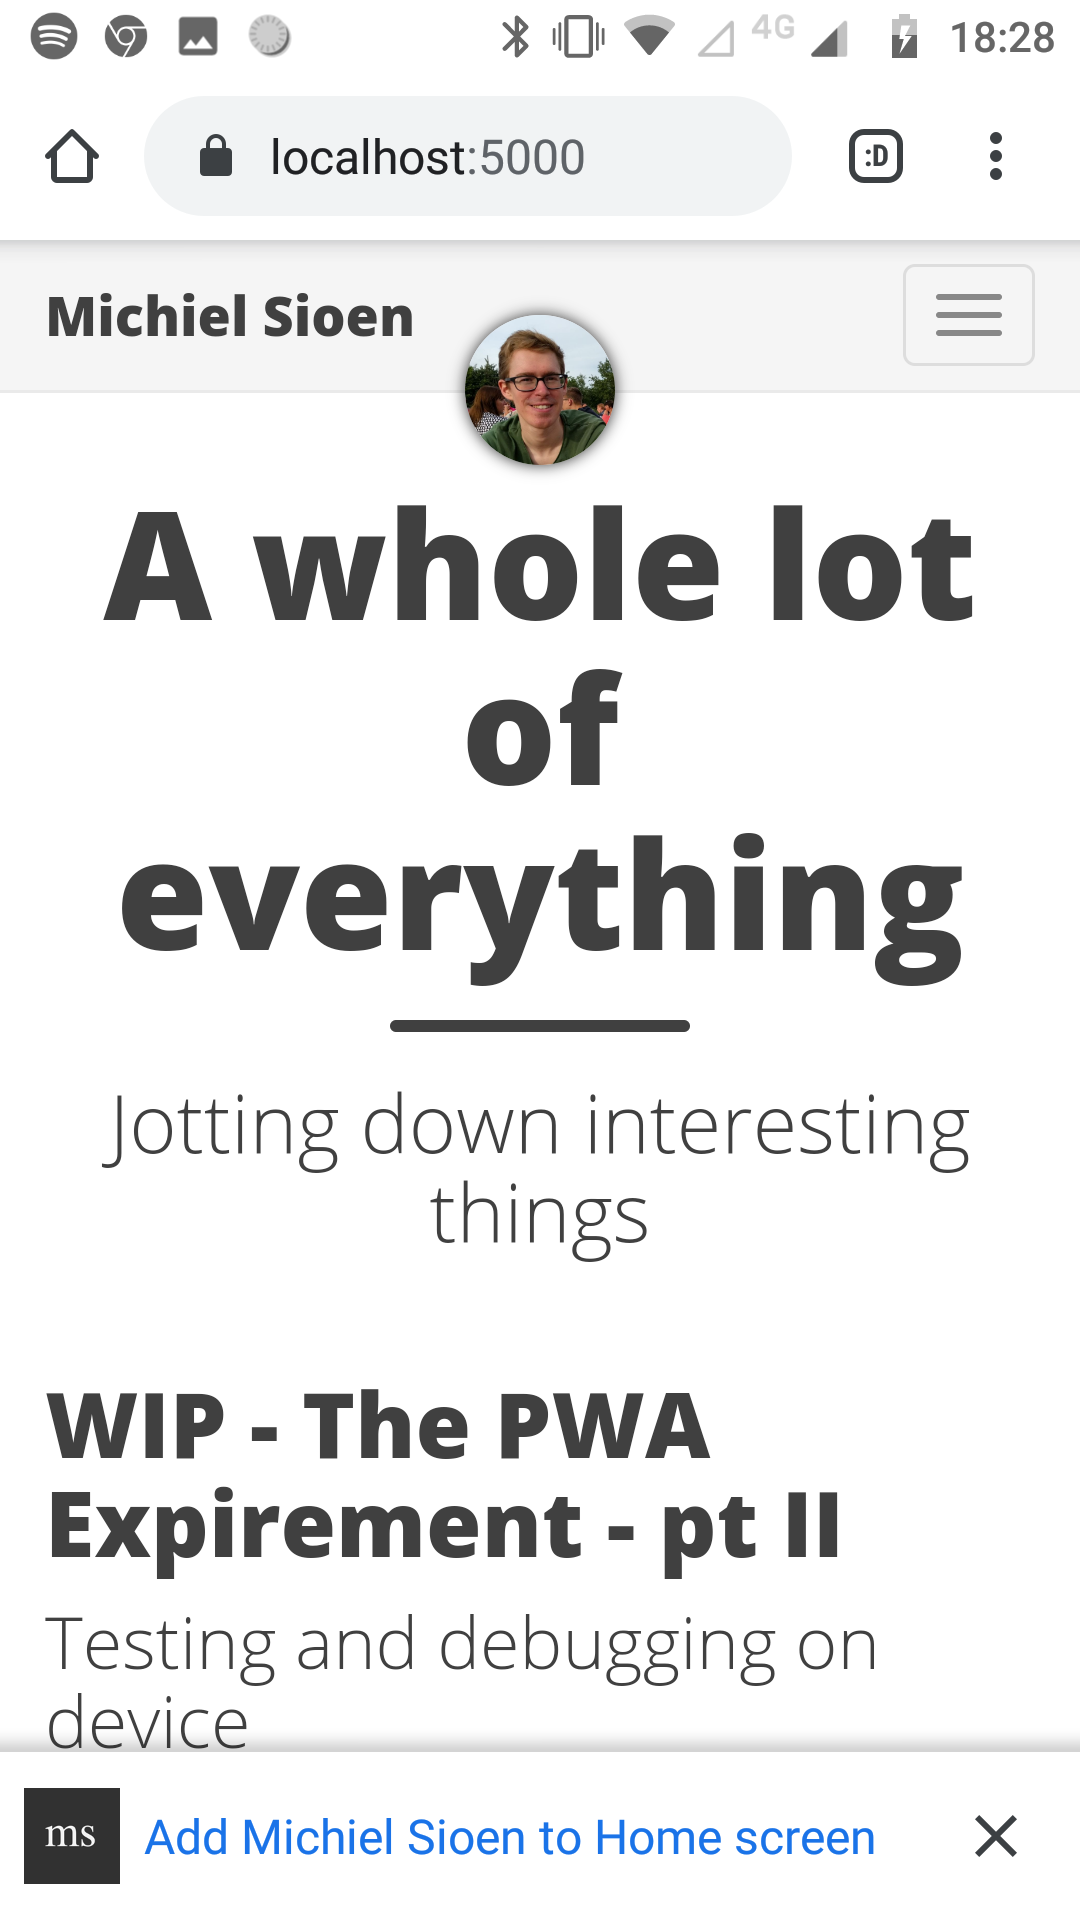
Going through the wizard, downloading the necessary files and adapting everything to my use case took all of 30 minutes. After pushing the changes Chrome asked me to install my blog on my phone. Success!

App notifications - first attempt
When setting out on my journey to convert this blog I set myself two feature goals. Implementing the first feature, enabling offline reading of posts, went quite well as described in the previous section. As a second feature I wanted to have the PWA send out a notification when a new blog post was released, maybe even precaching the contents of this new post.
While I don’t believe this blog is at a level it needs to send out notifications on new posts, the feature is a useful one and lends itself to easy experimentation.
There are two types of notifications: local notifications and push notifications. Local notifications are scheduled on the device itself and are unique to this instance of the application. At some point the app or website sets up the notification and shows it to the user. Push notifications on the other hand are sent out from a server. All registered applications will receive the push notification and show it locally.
Push notifications are definitely the way to go in nearly all cases. With local notifications you’re limited to the scenarios you imagined originally. With push notifications you can send out other notifications as well, not necessarily limited to the original expected features.
While push notifications are the better choice, I decided to try out local notifications for my initial demo. The setup in my head was as follows: some background worker periodically checks if there’s a new post available. If a new post is available a local notification is shown to the user with the title of this new post. Ideally the new post is automatically cached at this point as well so the user can even view it offline if needed.
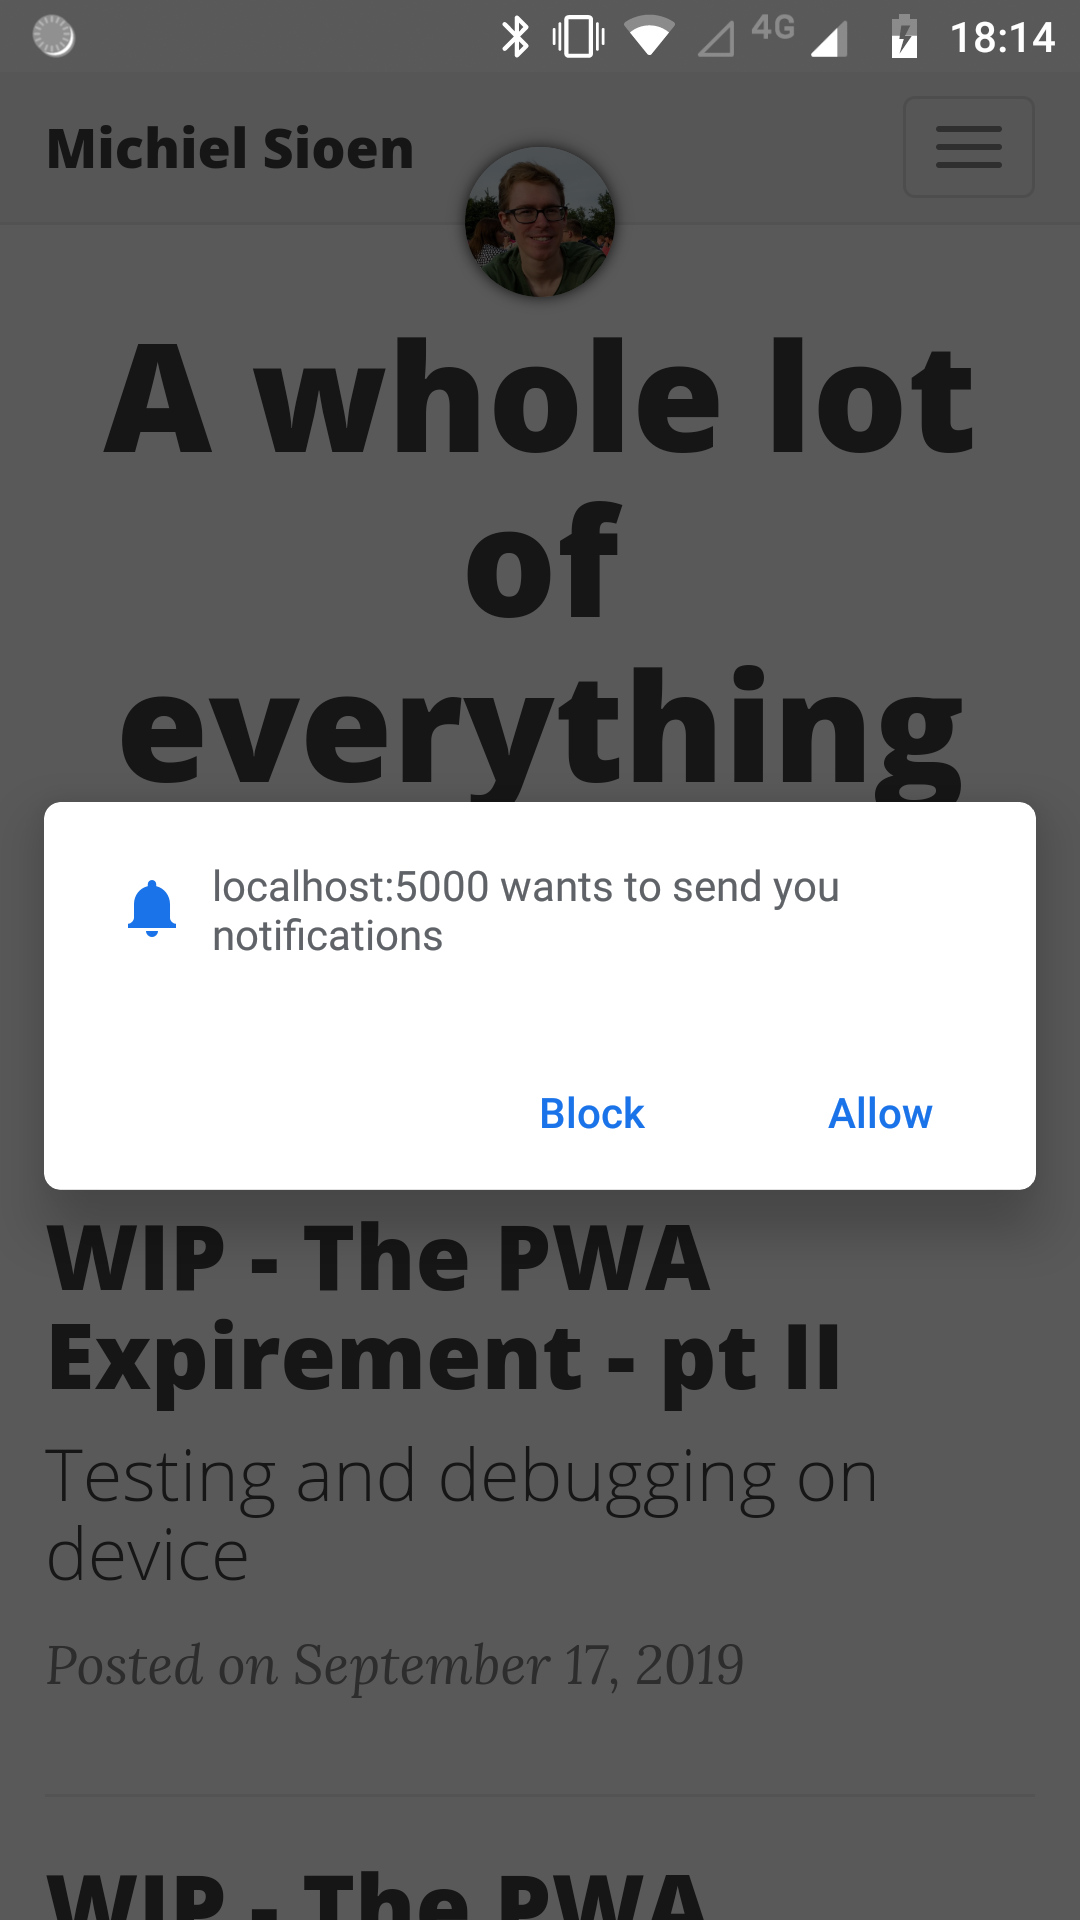
First thing we need in order to show notifications to the user is their permission. As I’m only going to use notifications for users of the PWA I’m checking first if the user is working in a browser context or in an application context.
if (window.matchMedia('(display-mode: standalone)').matches ||
    window.navigator.standalone === true) {
    Notification.requestPermission().then(function(result) {
    if(result === 'granted') { }
    });
}

When we have the users permission, we can start showing notifications. I found that finding the correct api to do this wasn’t as straightforward as imagined. There seems to be a myriad of deprecated options available. Notifications will also only be shown if all requirements are fulfilled such as being served over SSL. In a next blog post I’ll go into more detail on SSL setup and how to debug your web app.
function showNotification() {
    if (!('Notification' in window) || !('ServiceWorkerRegistration' in window)) {
        alert('Notification API not supported!');
        return;
    }

    try {
        navigator.serviceWorker.getRegistration()
            .then(reg => reg.showNotification("Hello world!"))
            .catch(err => alert('Service Worker registration error: ' + err));
    } catch (err) {
        alert('Notification API error: ' + err);
    }
}
After figuring out the easier part of creating the notifications, I set out to implement the background worker part. While researching this, I found several hints to background functionality and more advanced service workers.
Many frustrating attempts later I had to come to the conclusion that my original premise was too much influenced with the functionality I’m used to for native applications. Aside from some already deprecated apis or vague blog posts it isn’t possible to do any background work in PWA’s without (silent) push notifications. I did run in to a GitHub project with JavaScript examples which gave me a lot of hope but turns out that this is the W3C spec proposal. This means that while it looks good it won’t be useable for some time yet and is actively being improved upon (https://github.com/WICG/BackgroundSync).
App notifications - revisited
As the local notification setup I had in mind wasn’t possible I had to pivot to push notifications. Push notifications work in the following way:
- you subscribe to a push notification server
- the created subscription is saved to your own server
- when sending out notifications these saved subscriptions are queried and used
- your web application listens to incoming notifications and handles them accordingly
Subscribing to a push notification server is mostly handled by the browsers. Unlike for mobile applications, you don’t have to setup different environments for different operating systems or browsers. Calling PushManager.getSubscription() will handle the technicals needed and will return a subscription object containing all the data necessary to start sending out notifications.
To save the subscriptions, in order to send notifications to them later on, I decided to setup a small Azure Functions application. I created two endpoints: one to save the subscription to table storage, and another to query all the subscriptions and send out a notification to all of them. When I get a subscription back from the getSubscription call I post it to my subscribe endpoint which stores it in the database.
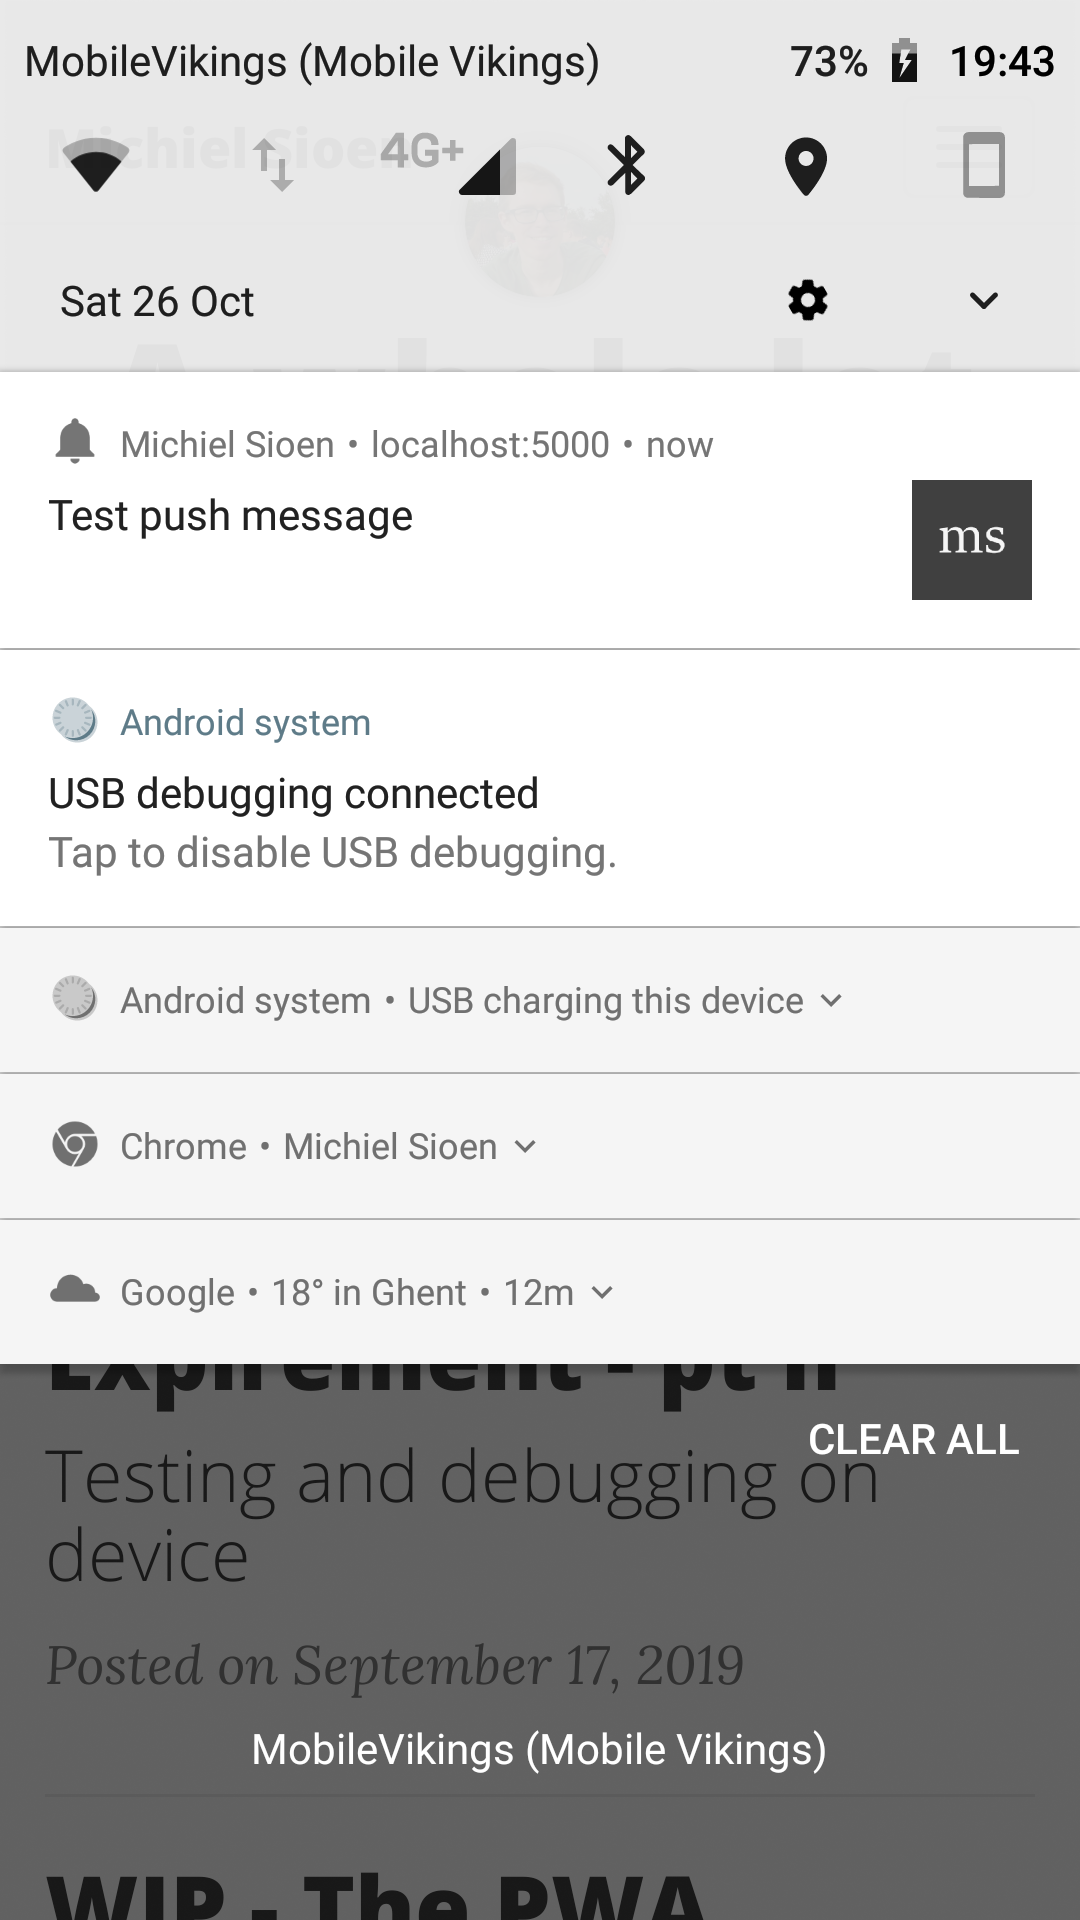
In order to effectively show the notifications properly there’s a final bit of code necessary. In your service worker you can listen to push messages and do something when you receive them. The below code sample does the bare minimum necessary - fetching the notification text and effectively showing it on device.
self.addEventListener('push', function(event) {
  if (event.data) {
    const title = event.data.text();
    const options = {
      icon: '/android-chrome-256x256.png'
    };
    self.registration.showNotification(title, options);
  }
})
